if you were teen or tween girl in the 80s or early 90s, I bet you dreamed of a Christmas like this...

Wednesday, November 28, 2012
Sunday, November 25, 2012
thankful...
A trip to Iowa
A stay at a B&B in a sleepy little town
A visit to my hubby's alma mater
A wonderful dinner with great friends and their hilarious kids
A week with family
Drinking, eating and drinking and eating some more
Shopping with my mother-in-law
Visiting old friends
Hearing stories about my hubby in high school
Quality time with amazing in-laws
Driving 11 straight hours and having a blast
A fantastic Thanksgiving week
Lots of love
And one incredible man to share it with
So many things to be thankful for. How did I get so blessed?
Saturday, November 17, 2012
pinned it then did it: nailhead trim tray...

a couple of weeks ago, we got a some new furniture for our loft area and I wanted to put a tray on the coffee table to harness magazines and remotes. So I consulted my Pinterest boards and was reminded of the Nate tray. The round shape wasn't going to work for what I needed, so I headed out to find the right rectangular tray. On a trip to Garden Ridge, I found this one for $12.99.

I sanded it down...
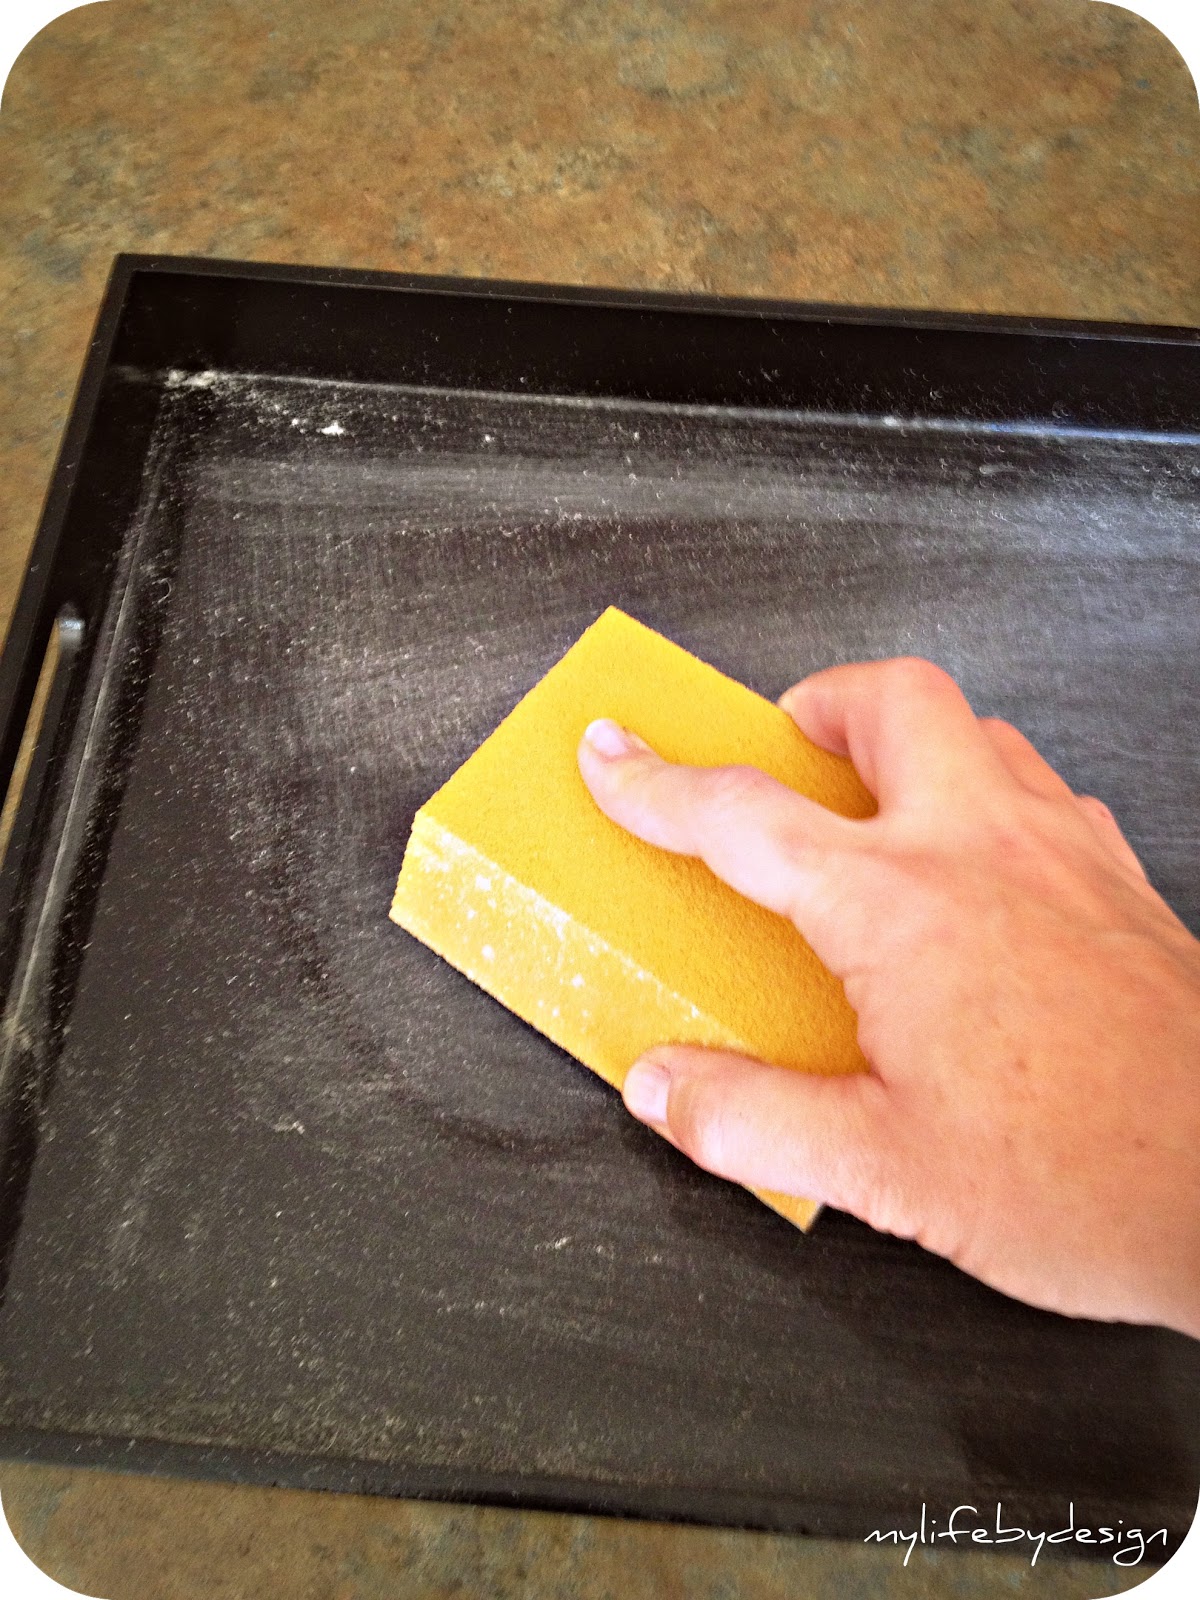
then sprayed it with an olive spray paint. I struggled to find the right green and then low-and-behold I found the perfect color that was actually camouflage paint, like for hunting and stuff. but seriously it was the perfect shade to match the throw pillows on the couch. plus, the added bonus is that it has an ultra-flat finish. I am loving the look of furniture in flat finish right now, so this was a match made in heaven.

for the decorative embellishments I found some nail heads at JoAnn Fabrics. they were perfect, except that they had the actual nail part. I couldn't nail it into the tray because it was too long and it would split the wood.

So I took some heavy-duty wire cutters and CAREFULLY (while wearing sunglasses so I didn't poke my eye out) snipped off the pointy part (that's the technical term, right?).

after they were all snipped, I used Gorilla super glue to adhere them to the tray.

I love the flat finish paired with the brassy embellishments.

and it works perfectly in the new room. another successful pin!

Friday, November 9, 2012
nice rack! black and gold magazine rack...
black and gold is my latest design obsession. I may or may not have spent $40 on 9 clearance vases at Target and 5 of them may have been black and gold. OB-SESSED. I'd been looking for a magazine rack for a while and when I found this one at a local vintage store for $12, I knew I could restore it to some black and gold loveliness.


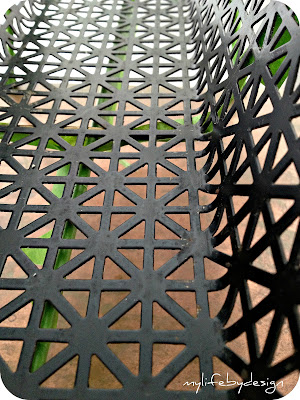


I loved the detail. It was a little beat up but nothing a little spray paint couldn't bring back to life.

First I taped off all of the areas that will eventually be gold.

Then I sprayed the exposed metal with semi-gloss Rusto-leum black spray paint.

I let it dry for 24 hours then removed the tape. After another 24 hours, I taped off the freshly painted black areas. If you're doing a similar project, make sure to let the paint dry for a couple of days before taping it off so that the tape does pull off any paint that hasn't set yet.

I thought maybe the frame was tarnished brass, but some scrubbing with a good brass cleaner revealed it was not. It was beat up and rusted so I grabbed my gold spray paint, Rusto-leum again.

After letting it dry for 24 hours, I removed the tape. There were a couple of areas where the gold had leaked onto the black so I just grabbed a small craft paintbrush, sprayed it with some of the black paint and touched up any gold overspray.
The result was better than I imagined.


Retro, glam and totally unique. I'm so in love with it.
Thursday, November 8, 2012
What doesn't go with a spray painting project...
two jammed fingers on your trigger hand. Ouch. just one of the hazards of volleyball.


Tuesday, November 6, 2012

Monday, November 5, 2012
doppelganger...
I knew there was something about Tom Brady.....

pinned it then did it: chicken bake
if you're like me, you can spend hours pinning things to Pinterest, but never go back and look at your pins. I find so many great things on Pinterest – outfits, organization ideas, recipes, decor inspiration – I figured it's time to start utilizing some of my pins. So I'm introducing a new series on My Life By Design called "Pinned It Then Did It" to showcase Pinterest finds that I tried in real life.
As you can see in the link, the original recipe called for a 3-4 lb rotisserie chicken, shredded. I'm not a big fan of rotisserie chicken, so I boiled up 3 large chicken breasts then shredded the meat. Once the meat was about ready, I preheated the oven to 400 degrees.


First up is my take on a Chicken and Dumplings recipe from Real Simple. YUM! Doesn't it look good?
 |
| Real Simple recipe |
Next I mixed together: one 12-oz bag of frozen mixed vegetables and two 10.75-oz cans of cream of mushroom condensed soup in a large mixing bowl. I also added some diced onion for added flavor.

I then added the shredded chicken and salt and pepper to taste, mixed it up and transferred it to a casserole dish, covered it with foil and let it bake for 15 minutes.
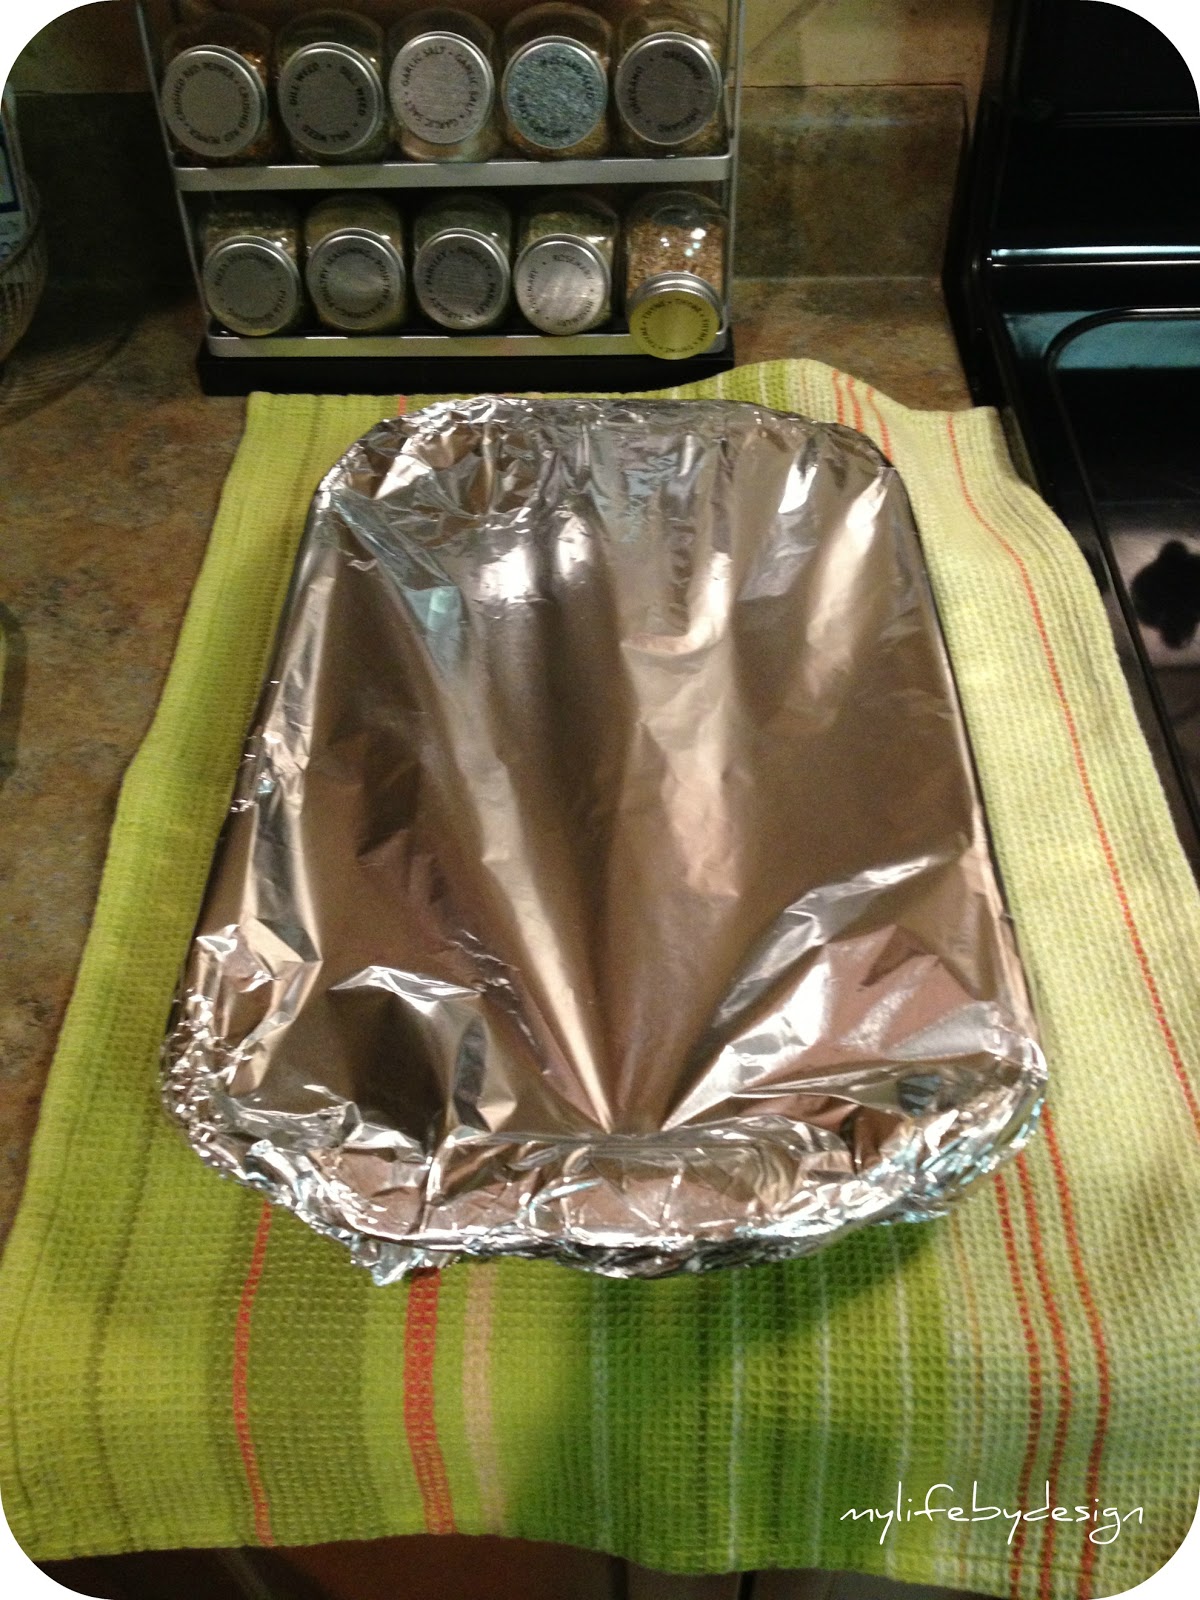
After 15 minutes, I removed the foil, opened a tube of ready made biscuit dough and placed 10 biscuits on top of the mixture. I then put it back in the oven uncovered and let it cook for another 15 minutes or until the biscuits are golden brown.

After 15 minutes, remove from oven and serve.
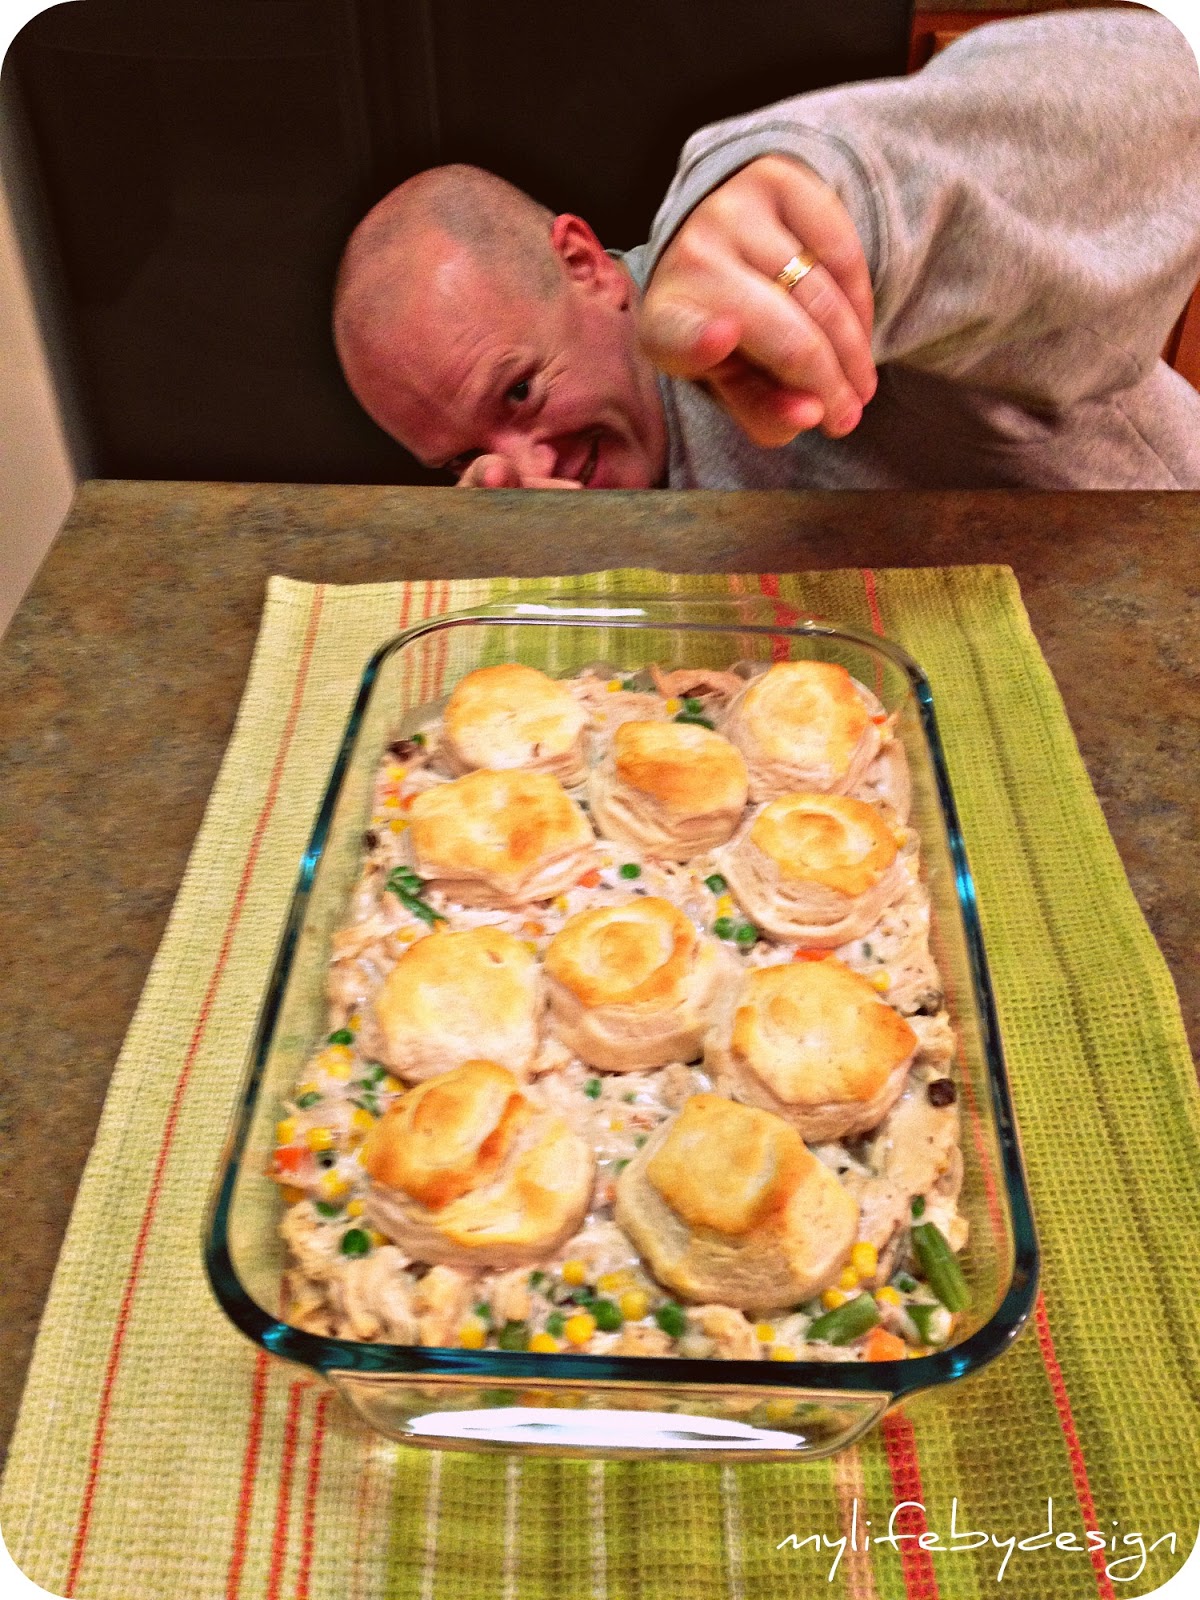
Somebody was excited with the outcome!
It looked and tasted delicious. Next time I might cut back on the amount of chicken (crazy I know) because it made it really dense, I would like it to be a little soupier next time. I also want to get an oval-shaped casserole dish just because I think it makes for a better presentation (and isn't that half the battle?). But the flavors mixed with the biscuits were amazing. A great meal for a chilly fall night.

You can find the original recipe I pinned here. My modified recipe is as follows:
Jenna's Chicken Bake
3 large chicken breasts, boiled then shredded
2 10.75-oz cans of cream of mushroom condensed soup
1 12-oz bag of frozen mixed vegetables
1/4 onion, chopped
Salt and pepper to taste
1 10-count tube of refrigerated biscuits.
Preheat oven to 400 degrees. Mix chicken, soup, vegetables and onion in large mixing bowl. Salt and pepper to taste. Transfer to a casserole dish, cover with foil and bake for 15 minutes. Remove from oven, top with biscuits, cook for another 15 minutes or until biscuits are a golden brown. Enjoy!
Thursday, November 1, 2012
DIY Halloween costume...
HAPPY HALLOWEEN! We are super excited to hand out candy over here since this will be the first time to do so in our very own home. To get into the spirit, I decided to DIY a little something I had pinned on Pinterest.
I grabbed a $3 pair of shades from Walmart and $1 worth of pipe cleaners and I was ready to go. I tried to paint the web with white puffy paint but it was a hot mess. So I improvised and used a silver permanent marker. They are a little wonky since I free handed them, but they get the job done. Then I just used my trusyt hot glue gun to attach the spider legs and my "costume" was complete!


 |
| Via Martha Stewart |


They were quite a hit with the little kids because they were fun and not too scary.

We couldn't have had more fun passing out candy, so many cute kids, funny costumes and nice neighbors we hadn't met yet. Hope you all had a Happy Halloween!
Subscribe to:
Posts (Atom)